
Kalimba Craftsmanship Exploration
Guide to Drip Glue Thumb Piano Production: Key Considerations and Solutions
13
Oct
Oct
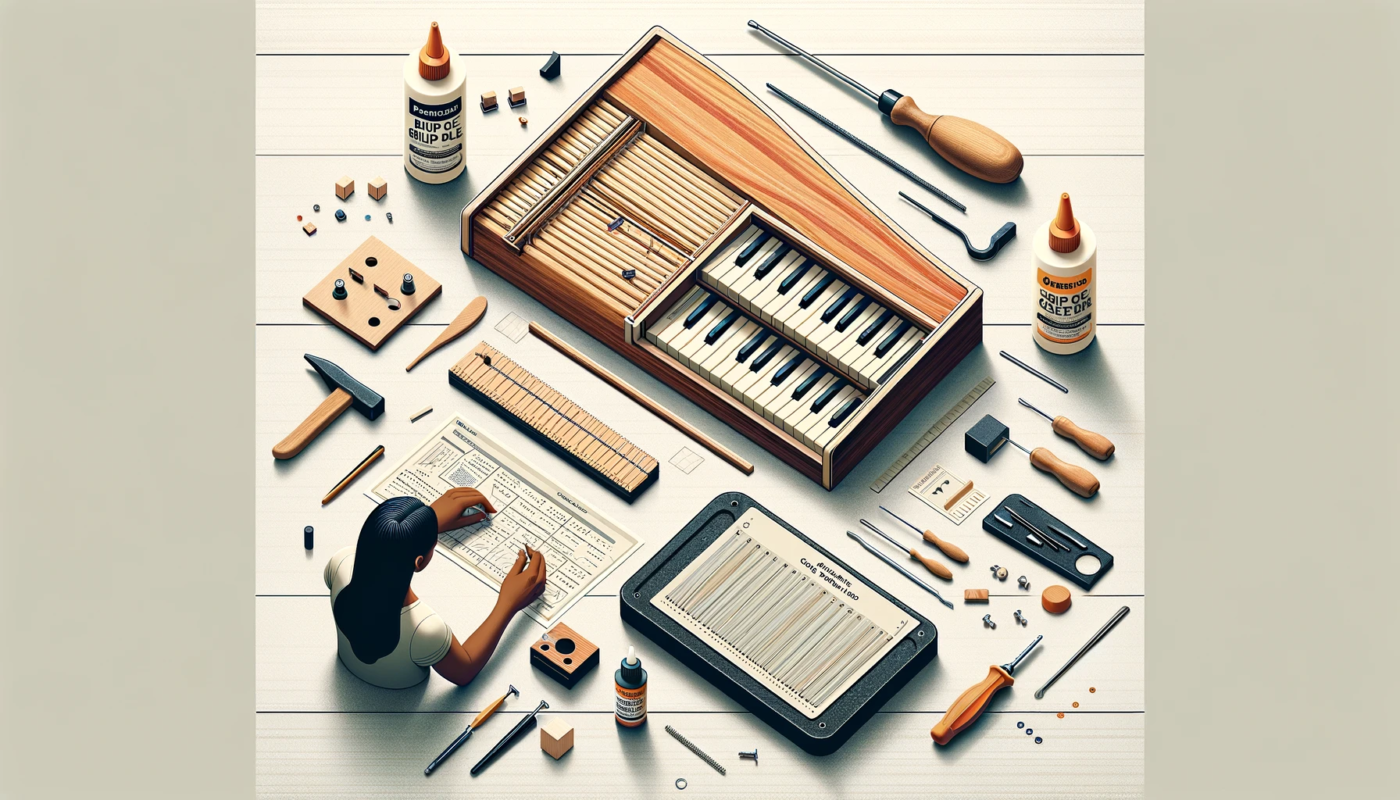
As thumb pianos gain popularity, the craftsmanship has also evolved. Drip glue technology, among these, not only enhances the aesthetic appeal of the thumb piano but also provides an additional protective layer. However, this method has its intricacies. This article delves into the issues to be aware of and their solutions during the production process.
1. Choosing the Right Glue Material
- Issue: Different drip glue materials have varying adhesion, color, and transparency on wood.
- Solution: Collaborate with suppliers to get drip glue samples suitable for wood. Test various glues to determine their compatibility with wood and the final outcome.
2. Temperature Control
- Issue: Temperature too high or too low can affect the adhesion and drying of the drip glue.
- Solution: Monitor the working environment with a thermometer and ensure that the glue is used within the recommended temperature range.
3. Controlling Drip Glue Viscosity
- Issue: Viscosity affects the flow of the drip glue.
- Solution: Adjust its viscosity based on the instructions of the drip glue. If necessary, heat or dilute it.
4. Avoiding Bubbles
- Issue: Bubbles can affect the look and feel of the piano.
- Solution: Stir the glue gently and evenly before dripping to avoid bubble formation. Use a vacuum pump or other methods to remove formed bubbles.
5. Even Application
- Issue: Uneven application can result in an uneven surface.
- Solution: Use professional application tools like droppers or brushes and ensure every nook and cranny is covered.
6. Drying Environment
- Issue: Drip glue requires drying in a dust-free, dry environment.
- Solution: Use a drying box or set up a dedicated drying area, ensuring that no dust falls on the yet-to-dry drip glue.
7. Post-processing
- Issue: Dried drip glue might require further processing for a perfect finish.
- Solution: Lightly sand the surface using fine-grit sandpaper, then spray with lacquer or protective agent to increase glossiness.
8. Testing Sound Quality
- Issue: Drip glue might alter the sound quality of the piano.
- Solution: Conduct a sound test after completion. If necessary, make minor adjustments inside the piano to ensure the sound quality remains intact.
9. Maintenance and Cleaning
- Issue: Drip glue pianos require special cleaning and maintenance.
- Solution: Solution: Use a soft cloth for cleaning and avoid using strong cleaners that may damage the glue.